Table of Contents
WordPress powers over 40% of all websites on the internet, making it the most popular content management system (CMS) worldwide. Its flexibility, ease of use, and massive plugin ecosystem have made it the go-to choice for bloggers, small businesses, and even large enterprises. If you’re looking to create a website, WordPress is an excellent platform to start with. However, before you can use WordPress, you need to install it on your web Hostinger .
This guide will walk you through how to install WordPress on Hostinger in just 5 minutes — no technical skills required. Hostinger is a popular web hosting provider known for its affordability, speed, and user-friendly tools, including a simple WordPress installation process.
Let’s dive in and get your WordPress website live quickly!

Why Choose Hostinger for WordPress Hosting?
Before jumping into the installation steps, it’s helpful to understand why Hostinger is a great choice for hosting your WordPress website:
- Affordable Pricing: Hostinger offers some of the most budget-friendly plans without sacrificing quality.
- Optimized Performance: Their servers are optimized for WordPress with LiteSpeed caching and SSD storage to ensure your site loads quickly.
- Easy-to-Use Control Panel: Hostinger’s custom hPanel is intuitive and makes managing your website simple.
- One-Click WordPress Installer: This feature allows you to install WordPress with just a few clicks.
- 24/7 Customer Support: If you ever run into issues, Hostinger’s support team is ready to assist.
Step 1: Purchase a Hosting Plan from Hostinger
If you haven’t already signed up for Hostinger, your first step is to choose a hosting plan.
- Visit Hostinger’s website.
- Click on Hosting and select WordPress Hosting or Shared Hosting (both support WordPress installation).
- Review the plans and pick one that suits your needs. The Single WordPress Hosting plan is perfect for beginners and small sites.
- Click Add to Cart, then proceed to checkout.
- Create an account or log in.
- Complete your payment.
Once your hosting plan is active, you’re ready for the next step.
Step 2: Access Hostinger’s hPanel
After purchasing your hosting, you will have access to Hostinger’s control panel, called hPanel.
- Log into your Hostinger account.
- Navigate to the Hosting section.
- Click on your domain or hosting plan to open the hPanel dashboard.
Here you will manage all aspects of your website and server, including installing WordPress.
Step 3: Use the One-Click WordPress Installer
Hostinger simplifies WordPress installation through its Auto Installer tool.
- In hPanel, scroll down to the Website section.
- Click on Auto Installer.
- In the search box, type “WordPress” and select it from the dropdown.
Now you will need to fill in some basic details:
- URL: Choose the domain or subdomain where you want to install WordPress.
- Website Title: Enter the name of your website.
- Admin Username: Create a username for logging into WordPress (avoid “admin” for security reasons).
- Admin Password: Choose a strong password or generate one.
- Admin Email: Enter your email address.
- Language: Select the preferred language for WordPress.
Once these fields are filled out, click Install.
Hostinger’s system will automatically download, configure, and install WordPress for you. This process usually takes less than a minute.

See also
- Hostinger vs GoDaddy: Who Offers Better Value?
- Hostinger Review 2025: Is It the Best Budget Hosting?
- What Makes Hostinger So Cheap? Breaking Down the Plans
Step 4: Log Into Your New WordPress Website
After the installation finishes, Hostinger will provide the WordPress Admin URL, typically:
yourdomain.com/wp-admin
- Click the link or type the URL in your browser.
- Enter the Admin Username and Password you set during installation.
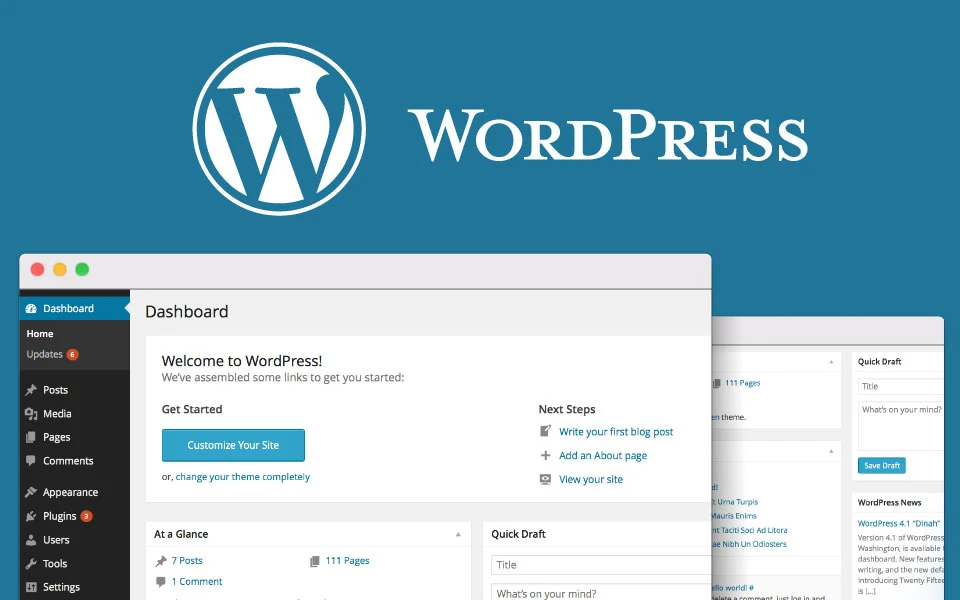
- You’ll be logged into your WordPress dashboard, where you can start customizing your website.
Step 5: Configure Basic WordPress Settings
To get your site ready, spend a few minutes configuring these essential settings:
1. General Settings
- Go to Settings > General.
- Verify the Site Title and Tagline.
- Check the WordPress Address (URL) and Site Address (URL).
- Set your Timezone, Date Format, and Time Format.
2. Permalinks
- Navigate to Settings > Permalinks.
- Choose the Post name option to create SEO-friendly URLs.
- Click Save Changes.
3. Install a Theme
- Go to Appearance > Themes.
- Click Add New and browse free themes or upload a premium one.
- Preview and activate the theme that fits your website style.
4. Install Essential Plugins
Plugins add functionality to WordPress. Start by installing these common essentials:
- Yoast SEO (for search engine optimization).
- Wordfence Security (for site protection).
- WPForms (for creating contact forms).
- LiteSpeed Cache (to improve speed on Hostinger servers).
To install plugins:
- Navigate to Plugins > Add New.
- Search for the plugin, click Install Now, then Activate.
Additional Tips for a Successful WordPress Launch on Hostinger
Backup Your Website Regularly
Hostinger offers automated weekly backups on most plans. To be extra safe, consider installing a plugin like UpdraftPlus to create manual backups.
Enable SSL for Website Security
Hostinger provides a free SSL certificate. To enable it:
- Go to hPanel > SSL.
- Activate SSL for your domain.
- In WordPress, install the Really Simple SSL plugin to configure HTTPS.
Improve Website Speed
- Use a caching plugin (LiteSpeed Cache works best with Hostinger).
- Optimize images using tools like Smush or Imagify.
- Minimize plugins to avoid slowing down your site.
Keep WordPress Updated
Regularly update WordPress core, themes, and plugins to ensure security and compatibility.
Troubleshooting Common Installation Issues
While Hostinger’s installer is reliable, you might face occasional issues:
- Installation fails or times out: Try reinstalling or contact Hostinger support.
- Login issues: Reset your WordPress password using the “Lost your password?” link or reset it via the database (Hostinger support can help).
- SSL errors: Make sure SSL is activated and configured correctly.
Hostinger’s support team is available 24/7 to help resolve any issues quickly.

Conclusion
Installing WordPress on Hostinger is fast, easy, and beginner-friendly — taking just about 5 minutes from start to finish. Hostinger’s affordable plans, optimized servers, and user-friendly control panel simplify the process of getting your website live.
Here’s a quick recap of the steps:
- Purchase a hosting plan on Hostinger.
- Log into Hostinger’s hPanel.
- Use the one-click WordPress Auto Installer.
- Log into your WordPress dashboard.
- Configure your site settings, install a theme, and essential plugins.
With these steps complete, you can focus on creating content, designing your site, and growing your online presence.
Ready to get started? Head over to Hostinger now and launch your WordPress website today!


