
Table of Contents
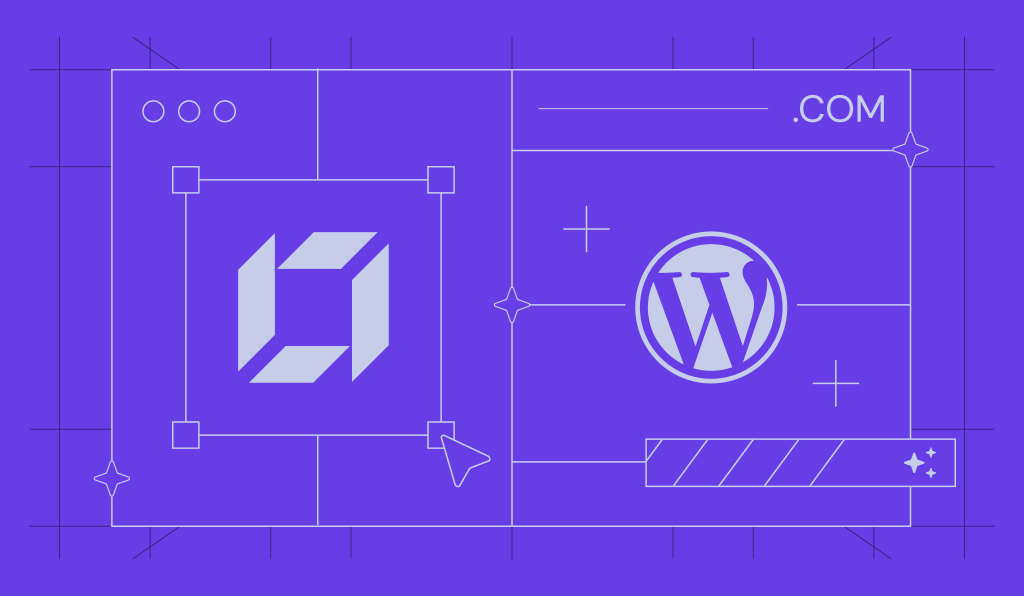
Starting a website today is easier than ever, thanks to affordable web hosting providers like Hostinger. Whether you want to launch a personal blog, a business site, or an online store, having the right hosting provider is crucial. Hostinger for Beginners due to its low prices, solid performance, and user-friendly interface.
This comprehensive guide will walk you through everything you need to know to get started with Hostinger, from signing up to launching your website. If you’re a beginner, this article will make the setup process simple and stress-free.

What is Hostinger?
Hostinger is a web hosting company founded in 2004 that has grown rapidly to serve millions of users worldwide. Known for its competitive pricing, robust performance, and excellent customer support, Hostinger offers various hosting services, including shared hosting, cloud hosting, VPS hosting, and specialized WordPress hosting.
Hostinger stands out because of:
- Affordable pricing plans
- Fast and reliable server infrastructure
- Beginner-friendly control panel (hPanel)
- One-click app installers
- 24/7 customer support
Why Choose Hostinger?
Before diving into the setup, let’s explore why Hostinger is an excellent choice for beginners:
1. Budget-Friendly Plans
Hostinger’s plans start at just a couple of dollars per month, making it accessible for anyone on a budget. You get great value with features like free SSL certificates, SSD storage, and a free domain with certain plans.
2. Easy-to-Use Control Panel
Unlike traditional hosts that use cPanel, Hostinger offers hPanel, a simplified and intuitive interface designed for users of all experience levels. Managing your hosting account, domains, emails, and websites becomes a breeze.
3. Optimized for Speed and Performance
Hostinger uses LiteSpeed web servers, SSD storage, and CDN integration to ensure fast loading times. Their 99.9% uptime guarantee means your website stays live consistently.
4. Beginner-Friendly Tools
With one-click installers for WordPress, Joomla, and other CMSs, beginners can launch websites quickly without technical knowledge.
5. Strong Customer Support
Hostinger offers 24/7 live chat support and a vast knowledge base filled with tutorials and FAQs for self-help.
Step 1: Choosing the Right Hosting Plan
Hostinger offers several hosting plans tailored to different needs. Here are the primary options:
Shared Hosting
Best for beginners, personal blogs, and small websites.
- Single Shared Hosting: Ideal for one website with limited resources.
- Premium Shared Hosting: Allows unlimited websites and offers better performance.
- Business Shared Hosting: Adds daily backups and advanced features for business sites.
WordPress Hosting
Optimized specifically for WordPress websites, comes with pre-installed WordPress and enhanced security.
Cloud Hosting
For growing websites needing more power, with dedicated resources.
VPS Hosting
Virtual Private Servers for advanced users wanting complete control over their server environment.
How to Pick?
For beginners, Premium Shared Hosting or WordPress Hosting plans are usually the best starting points.
See also
- Hostinger vs Bluehost: Features, Price & Verdict (2025 Comparison)
- Hostinger vs GoDaddy: Who Offers Better Value?
- What Makes Hostinger So Cheap? Breaking Down the Plans
Step 2: Register Your Domain
Most Hostinger plans offer a free domain registration for the first year.
- When signing up, choose a domain name that reflects your brand or website topic.
- Use the domain search tool to check availability.
- Add the domain to your cart.
If you already own a domain from another provider, you can transfer or point it to Hostinger later.
Step 3: Creating Your Hostinger Account and Purchasing Hosting
- Go to Hostinger’s website.
- Select your desired hosting plan.
- Add a domain name or use an existing one.
- Create an account by entering your email and password or log in with social media.
- Complete your payment using your preferred method.
Once your purchase is confirmed, you will receive a welcome email with login details.
Step 4: Accessing Hostinger hPanel
Log into your Hostinger account and access the hPanel dashboard. Here you can manage domains, emails, files, databases, and install applications.
The interface is clean and organized with easy navigation menus.
Step 5: Installing WordPress (Or Another CMS)
Hostinger’s Auto Installer makes installing WordPress or other CMSs effortless.
- In hPanel, find and click the Auto Installer option.
- Select WordPress from the list of applications.
- Fill in details such as website URL, admin username, password, and email.
- Click Install.
Within a minute, WordPress will be ready, and you can log in via yourdomain.com/wp-admin.
Step 6: Configuring Your WordPress Website
After installation, log into the WordPress dashboard and configure your site:
- Choose a theme under Appearance > Themes.
- Install essential plugins like SEO, security, and performance enhancers.
- Customize your site with pages, posts, menus, and widgets.
Step 7: Setting Up Email Accounts
Hostinger lets you create professional email addresses linked to your domain.
- Go to Emails in hPanel.
- Create your new email account (e.g., info@yourdomain.com).
- Access your mailbox via webmail or configure it in email clients like Outlook.
Step 8: Setting Up SSL for Website Security
Hostinger provides free SSL certificates to encrypt your website data and build visitor trust.
- In hPanel, go to SSL.
- Activate SSL for your domain.
- In WordPress, install the Really Simple SSL plugin to enable HTTPS.
Step 9: Backup and Security Settings
Protect your site by enabling backups and security measures:
- Hostinger offers weekly automatic backups; some plans include daily backups.
- Use security plugins like Wordfence or Sucuri.
- Regularly update WordPress core, themes, and plugins.
Step 10: Managing Your Website with Hostinger’s Tools
Hostinger hPanel includes tools for:
- File Manager: Upload, edit, and manage your website files.
- Databases: Create and manage MySQL databases.
- DNS Zone Editor: Configure DNS records for your domain.
- Cron Jobs: Schedule automated tasks.
- Cache Management: Clear cache for faster performance.
Tips for Beginners Using Hostinger
- Utilize the knowledge base: Hostinger’s tutorials and guides cover a wide range of topics.
- Optimize website speed: Use caching, image optimization, and a CDN.
- Monitor your website: Use analytics tools like Google Analytics to track visitors.
- Ask for help: Don’t hesitate to contact Hostinger’s support if you’re stuck.
Conclusion
Hostinger is an excellent hosting provider for beginners thanks to its affordability, ease of use, and robust features. By following this complete setup guide, you can have your website up and running in no time — without needing technical skills.
To recap, here are the main steps:
- Choose the right hosting plan.
- Register or connect a domain.
- Create your Hostinger account and purchase hosting.
- Access the hPanel dashboard.
- Install WordPress or another CMS.
- Configure your website and design.
- Set up email accounts.
- Enable SSL for security.
- Use backups and security tools.
- Manage your site with Hostinger’s user-friendly tools.
Starting a website may seem daunting, but with Hostinger’s beginner-friendly approach, you’re supported every step of the way. Now it’s time to get started and build your online presence!