
Table of Contents
Are you dreaming of starting your own online store but don’t know where to begin? Whether you want to sell handmade crafts, digital products, or dropship items, building an e-commerce website is easier than ever — especially with Hostinger and WooCommerce.
In this comprehensive guide, we’ll walk you through how to build a professional online store using Hostinger’s affordable hosting and the powerful WooCommerce plugin for WordPress. You’ll get everything you need, from choosing the right hosting plan to launching your site and attracting customers.

Why Choose Hostinger + WooCommerce for Your Online Store?
Before we dive in, let’s quickly see why Hostinger paired with WooCommerce is the ideal combo for your e-commerce journey:
Hostinger Benefits:
- Affordable hosting plans starting at just $1.99/month, perfect for startups.
- Blazing-fast loading speeds thanks to optimized servers and LiteSpeed caching.
- User-friendly hPanel control panel for easy site management.
- Free SSL certificate included for secure transactions and better Google ranking.
- 24/7 expert customer support to assist anytime.
WooCommerce Benefits:
- Free and open-source WordPress plugin to create powerful online stores.
- Highly customizable with thousands of themes and plugins.
- Supports multiple payment gateways like PayPal, Stripe, and more.
- Extensive community and resources for help and tutorials.
- Scalable to grow with your business from a few products to thousands.
Together, they offer an unbeatable platform to launch your store with minimal cost and maximum flexibility.
Step 1: Choose the Right Hostinger Hosting Plan for WooCommerce
To build an online store, you need reliable hosting. Hostinger’s Premium Shared Hosting or Business Shared Hosting plans are perfect choices:
- Premium Plan: Great for most stores with room for multiple websites and unlimited bandwidth.
- Business Plan: Includes enhanced speed, daily backups, and free SSL — ideal for growing stores.
Visit Hostinger’s website, select your plan, and complete the checkout.
Step 2: Register Your Domain or Use an Existing One
During the checkout process, you can:
- Register a new domain (often free with annual plans).
- Use an existing domain if you already own one.
- Transfer your domain to Hostinger for easier management.
Choose a domain that’s catchy, brandable, and relevant to your products.
Step 3: Install WordPress on Hostinger with One Click
Once your hosting and domain are set up:
- Log into your Hostinger hPanel.
- Navigate to the Auto Installer tool.
- Select WordPress and enter your site details.
- Click Install and wait a few minutes for WordPress to be ready.
WordPress is the backbone of your site and integrates seamlessly with WooCommerce.
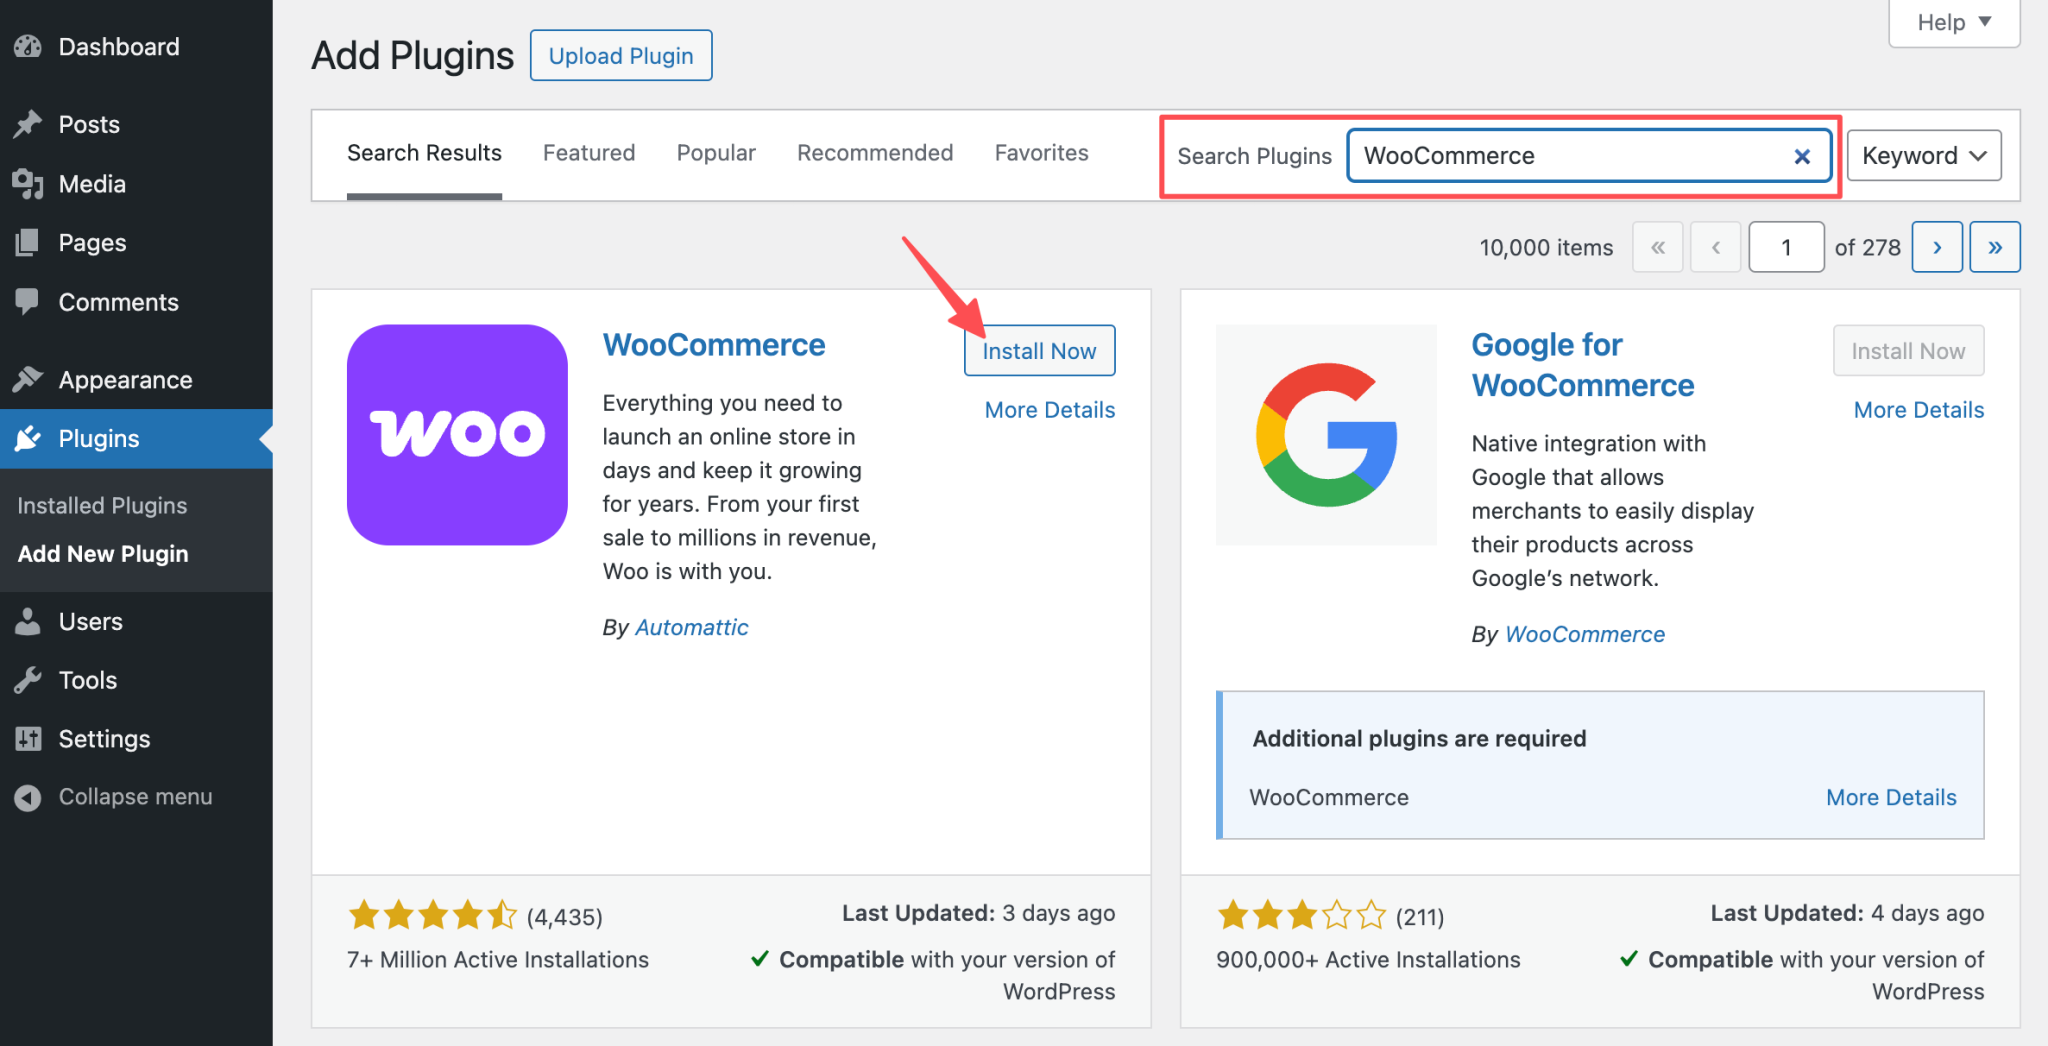
Step 4: Install and Configure WooCommerce Plugin
Now that WordPress is ready:
- Log into your WordPress dashboard (
yourdomain.com/wp-admin). - Go to Plugins > Add New and search for WooCommerce.
- Click Install Now, then Activate.
- WooCommerce Setup Wizard will launch automatically — follow the steps to:
- Add your store address and currency.
- Choose payment methods (PayPal, Stripe, etc.).
- Configure shipping options.
- Add tax details if applicable.
Step 5: Choose a WooCommerce-Compatible Theme
Your store’s design matters for user experience and trust. Hostinger offers easy theme installation:
- Go to Appearance > Themes > Add New in WordPress.
- Search for Storefront (official WooCommerce theme) or browse other free themes.
- Click Install and Activate your chosen theme.
Premium themes are also available for advanced features and customizations.
Step 6: Add Products to Your Store
Start adding products by navigating to Products > Add New in your WordPress dashboard:
- Enter the product title, description, and images.
- Set the price and inventory status.
- Choose product categories and tags for easy navigation.
- Configure shipping dimensions and options.
You can add simple products, variable products (sizes/colors), digital downloads, and more.
Step 7: Set Up Essential Plugins for Marketing & Security
Boost your store with key plugins:
- Yoast SEO: Optimize your site for Google search.
- Jetpack: Enhance security and site performance.
- WooCommerce Mailchimp: Integrate email marketing campaigns.
- WPForms: Add contact forms to connect with customers.
- UpdraftPlus: Schedule regular backups to protect your data.
Install and configure these plugins to grow and safeguard your store.

See also
- Hostinger vs Bluehost: Features, Price & Verdict (2025 Comparison)
-
How to Migrate Your Website to Hostinger (Free & Paid Options)
Step 8: Secure Your Store with SSL & Payment Gateways
Hostinger provides a free SSL certificate with your plan. Enable it via hPanel to encrypt customer data and boost trust.
Confirm your payment gateways are working by running a test purchase. WooCommerce supports multiple gateways including PayPal, Stripe, and bank transfers.
Step 9: Optimize Your Store for Speed & Mobile
Ensure your site loads fast and looks great on all devices:
- Use Hostinger’s LiteSpeed caching feature via hPanel.
- Optimize product images for web using tools like TinyPNG.
- Choose a responsive theme that adapts to smartphones and tablets.
- Regularly test your site speed with tools like Google PageSpeed Insights.
Step 10: Launch Your Online Store & Promote It
Once everything is set:
- Double-check all product pages, payment, and shipping.
- Write compelling product descriptions and add professional photos.
- Publish your store and announce it on social media, email lists, and forums.
- Consider paid ads (Google Ads, Facebook) to boost initial traffic.
How to Scale Your Store with Hostinger + WooCommerce
As your business grows, Hostinger makes scaling easy:
- Upgrade to VPS or Cloud hosting for more power.
- Add WooCommerce extensions for subscriptions, bookings, memberships.
- Implement advanced SEO and marketing automation tools.
- Use Hostinger’s 24/7 support for any technical issues.
Final Thoughts: Why Hostinger + WooCommerce Is Your Best Choice
Combining Hostinger’s affordable, high-performance hosting with WooCommerce’s flexibility gives you everything needed to create a stunning, profitable online store — no matter your experience level.
You don’t need to be a tech expert or spend a fortune. Just follow these steps, and you’ll be ready to sell to customers worldwide in no time.
Ready to Build Your Online Store Today?
Don’t wait any longer to launch your e-commerce dream.
👉 Sign Up for Hostinger Hosting Now and get started with WooCommerce — your ultimate store-building solution!